Making your own baby food is not nearly as intimidating as it seems. I think it’s actually one of the easiest things you can do, not to mention a huge cost savings. And I’ve found that it seems to be necessary when your child has FPIES. Many pre-made baby foods have fillers or are blends of food that William can’t have.
I recently made more squash for William so I decided to show you how I did it. First of all you need a squash; butternut, acorn and spaghetti are the most common types. When choosing a squash look for one that seems heavy for its size, and has no discolored spots or wrinkly skin. Squash have a very tough skin and don’t need refrigeration; they can be kept on the counter for weeks.
Here’s what you’ll need:
1. A squash. I’m using a butternut squash that’s about 3 pounds.
2. Cutting board
3. A very sharp knife
4. Metal spoon
5. Shallow baking dish with lid
6. Blender
7. Ice cube trays
8. Storage containers

1. Preheat the oven to 375 F.
2. Cut the squash in half the short way. For a butternut squash, just above the bulb. Since the neck on this particular squash was long I cut that in half as well. (I should have left the bulb whole. Cutting it in half made it hard to hold for the next step.) Note: The skin is so tough you may need to use a rubber mallet to help the knife through.
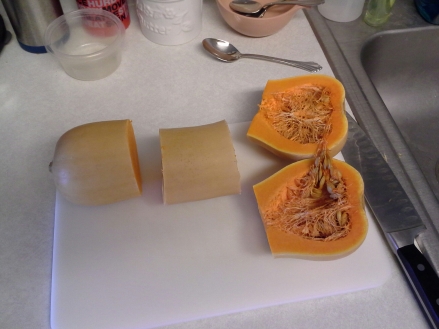
3. Stand the cut sections on end. Using the knife, slice off the skin. Be sure to get past the yellow part of the skin so that you get to the nice bright orange flesh. As you can see in the photo, you will have to remove a little of the orange to do this.
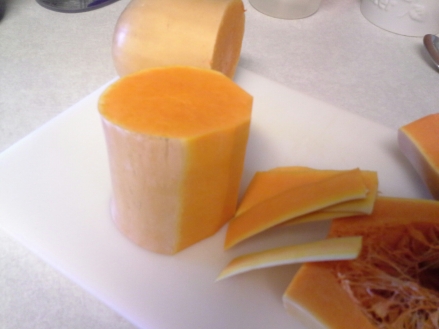
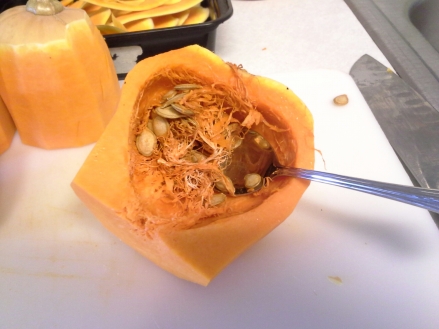
4. Cut the bulb in half top to bottom. Scoop out the seeds with the spoon. Make sure to scrape out as much of the stringy stuff as you can. (If you’d like, save the seeds. There are lots of recipes for roasted squash/pumpkin seeds.)
5. Now you are ready to start cubing. Make the cubes about 1 inch in size. Place the cubed squash in the baking dish with a little bit of water to prevent burning. The size of the dish I’m using is about 10 x 10 x 2.
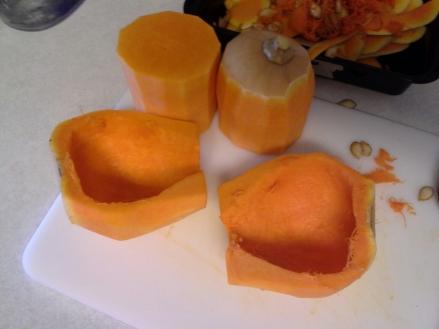
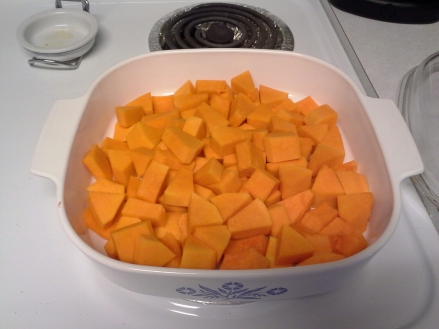
6. Put on the lid and bake for 30 minutes, or until the cubes don’t come up with a fork when poked. Allow the baked squash to cool slightly.
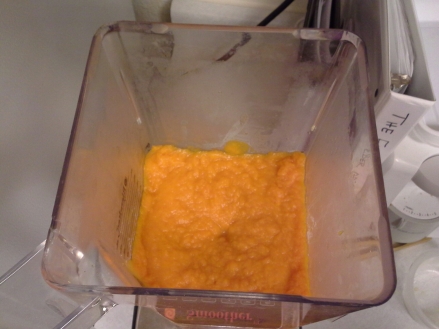
7. Put the squash into a blender and puree. Add water as necessary to get the desired consistency. Ta da! Baby food!
8. Now to store all your wonderful new baby food. A friend suggested the really great idea to freeze the food in ice cube trays. Not only is the food less likely to spoil, but the cubes make a handy serving size. Each cube is 1 tablespoon.
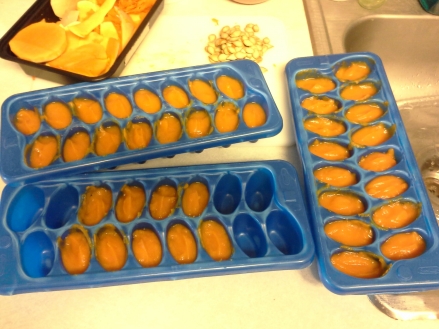
9. After a night in the freezer, pop the squash cubes into a freezer-safe container. We’ve saved the take-out containers from our local Chinese restaurant. (The jars in the picture are 6 ounces and I can fit 3 cubes in a jar. Once thawed it ends up being about a half jar of food.)
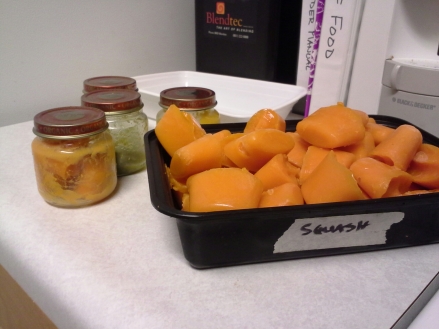
The take-out containers also stack really well! (I can’t believe I took a picture of the inside of my freezer.)
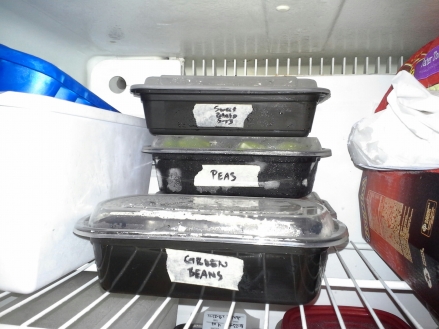
And that’s really all there is to it. As you can see I have some other veggies ready to go. Things like the green beans and peas are even easier; simply boil, puree, freeze.


